
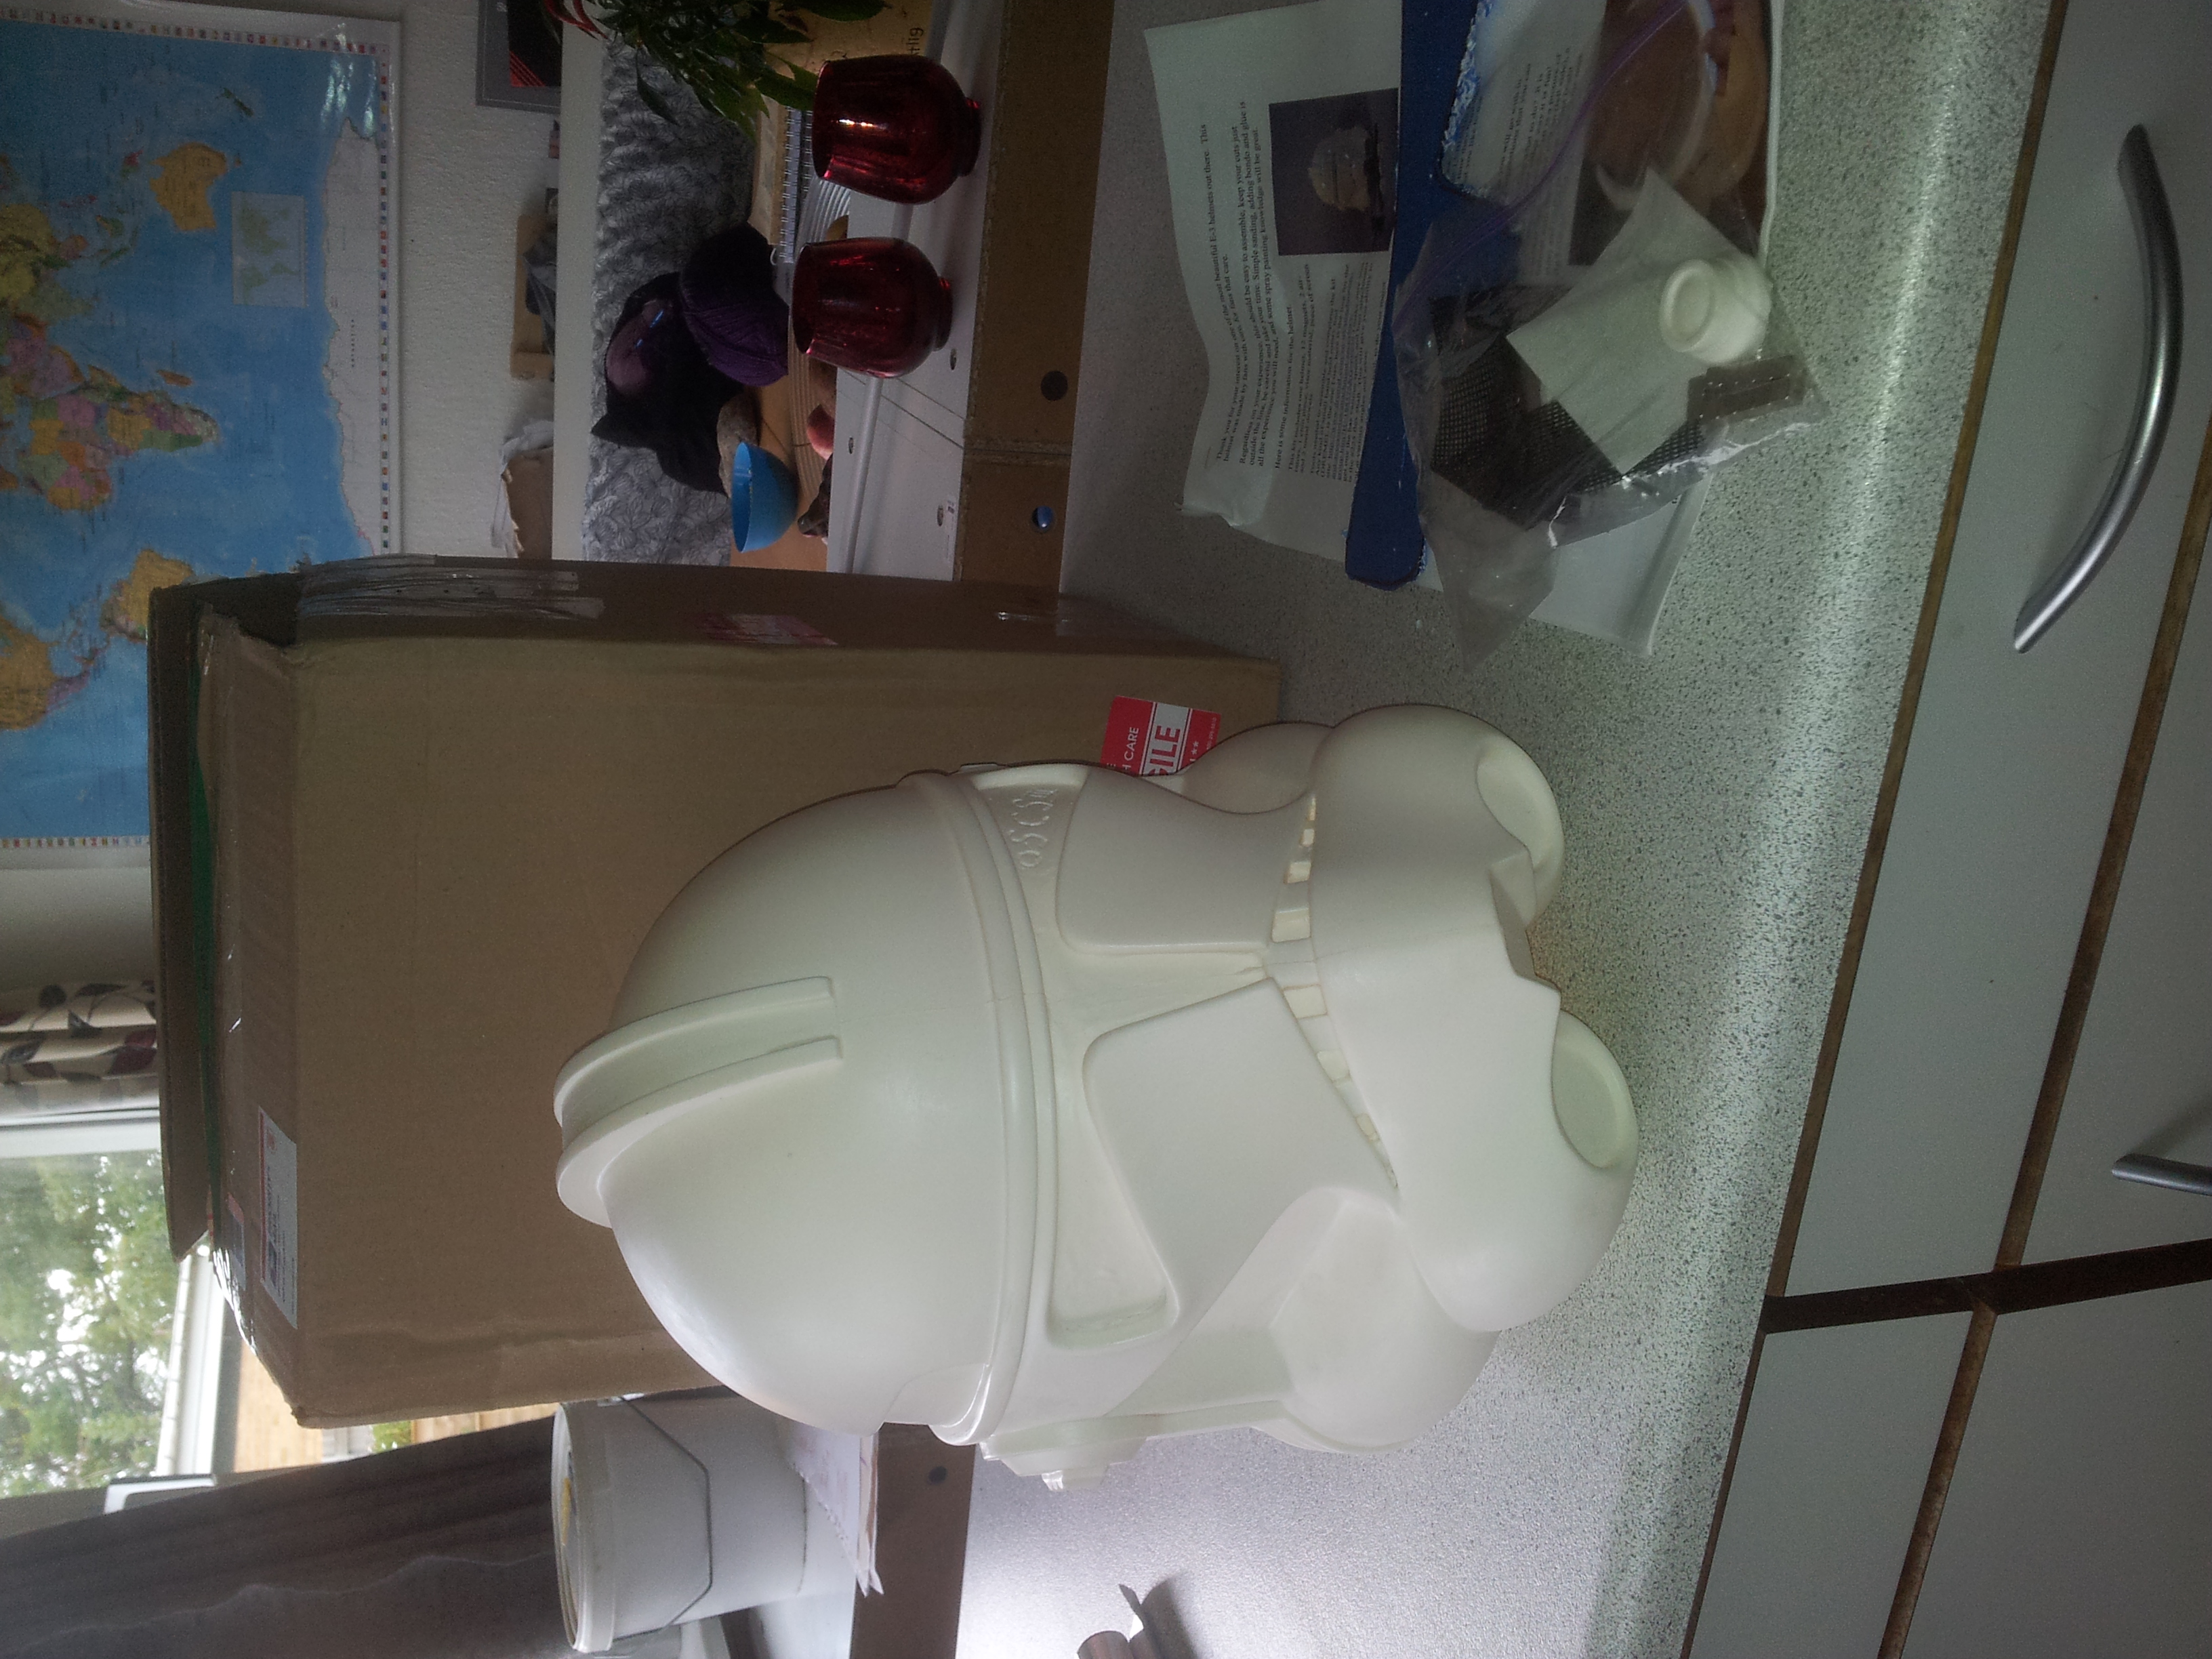
I'll be starting with my "Bucket" (Helmet), showing what I did from start to finish... Please keep in mind that I made this Costume about 4 years ago, so some things that I think I remember, might not be totally correct. heh heh
The bucket was made by O.S.C.S. One of the best makers if you ask me.
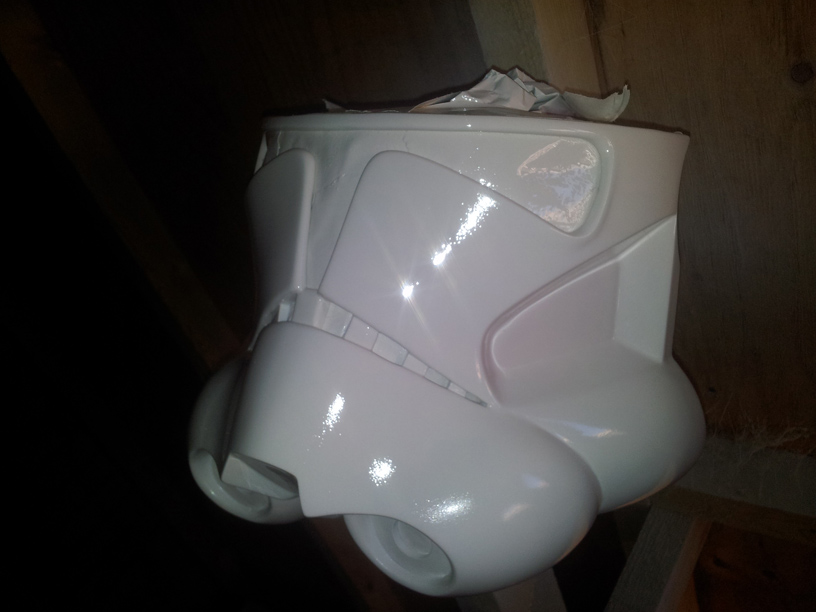
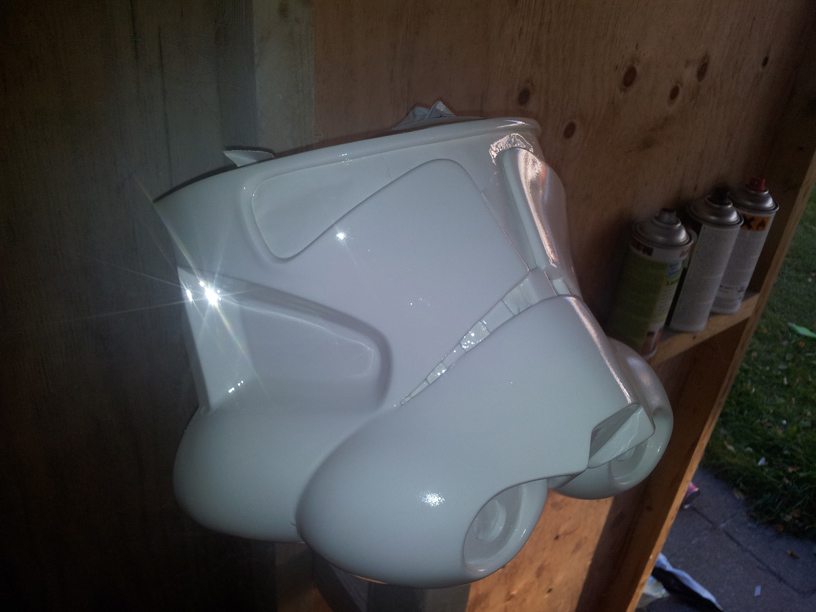
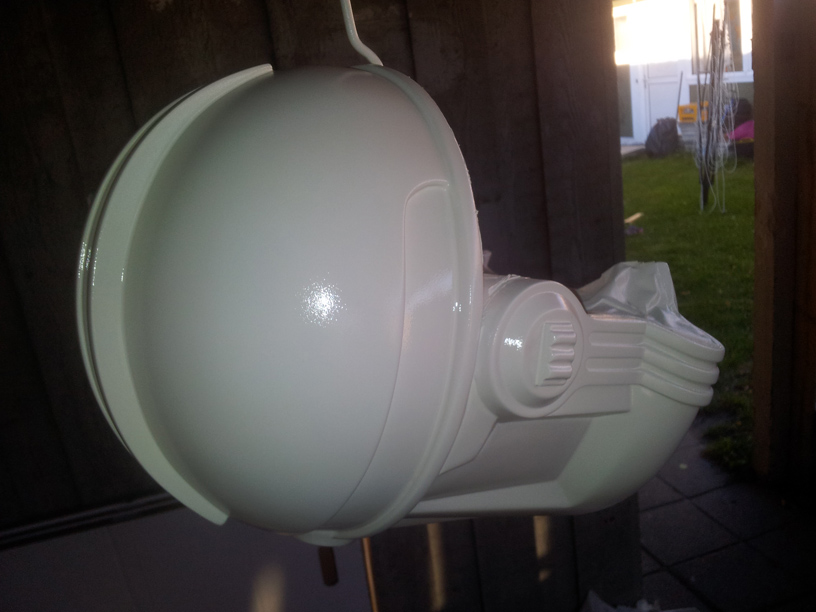
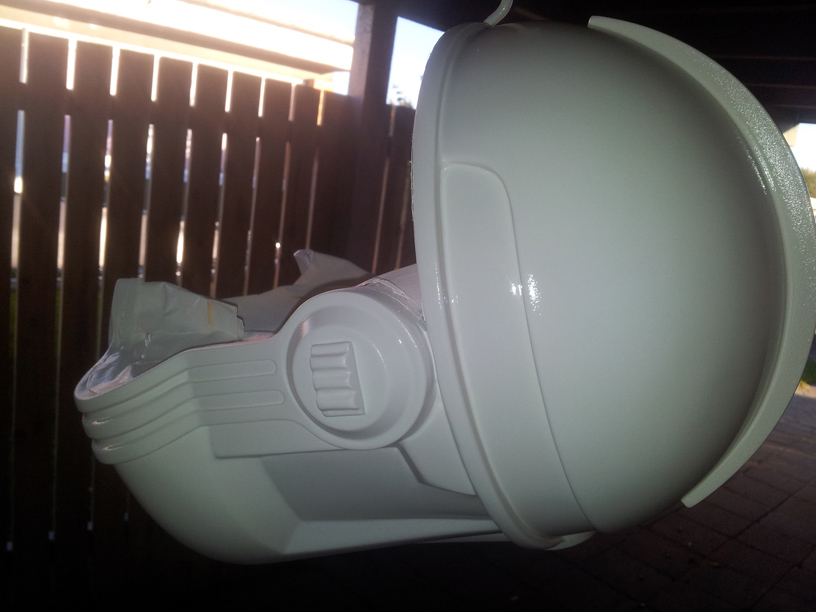
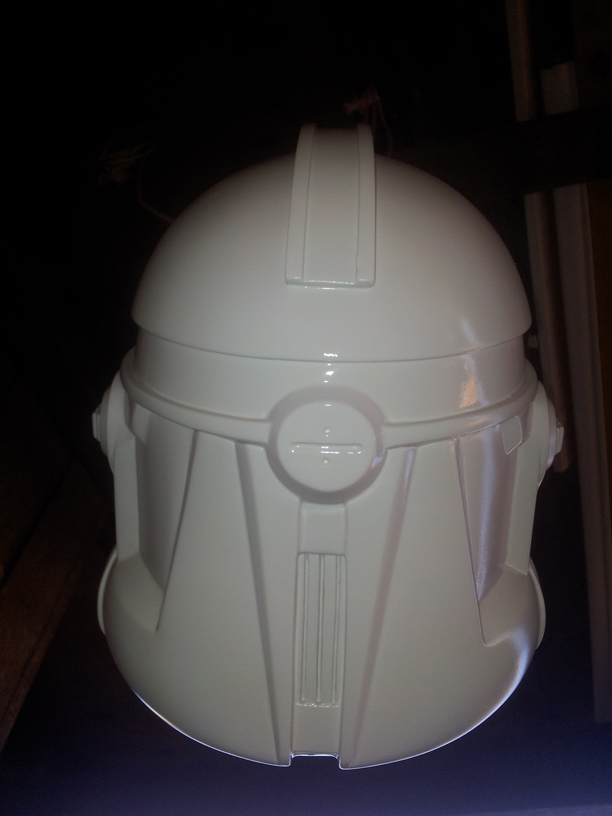
Anyways... Here are some photos of what it looked like when I got it home, but after I cut, sanded and painted it with Primer. (I'm very bad about taking proper "Work In Progress" photos).
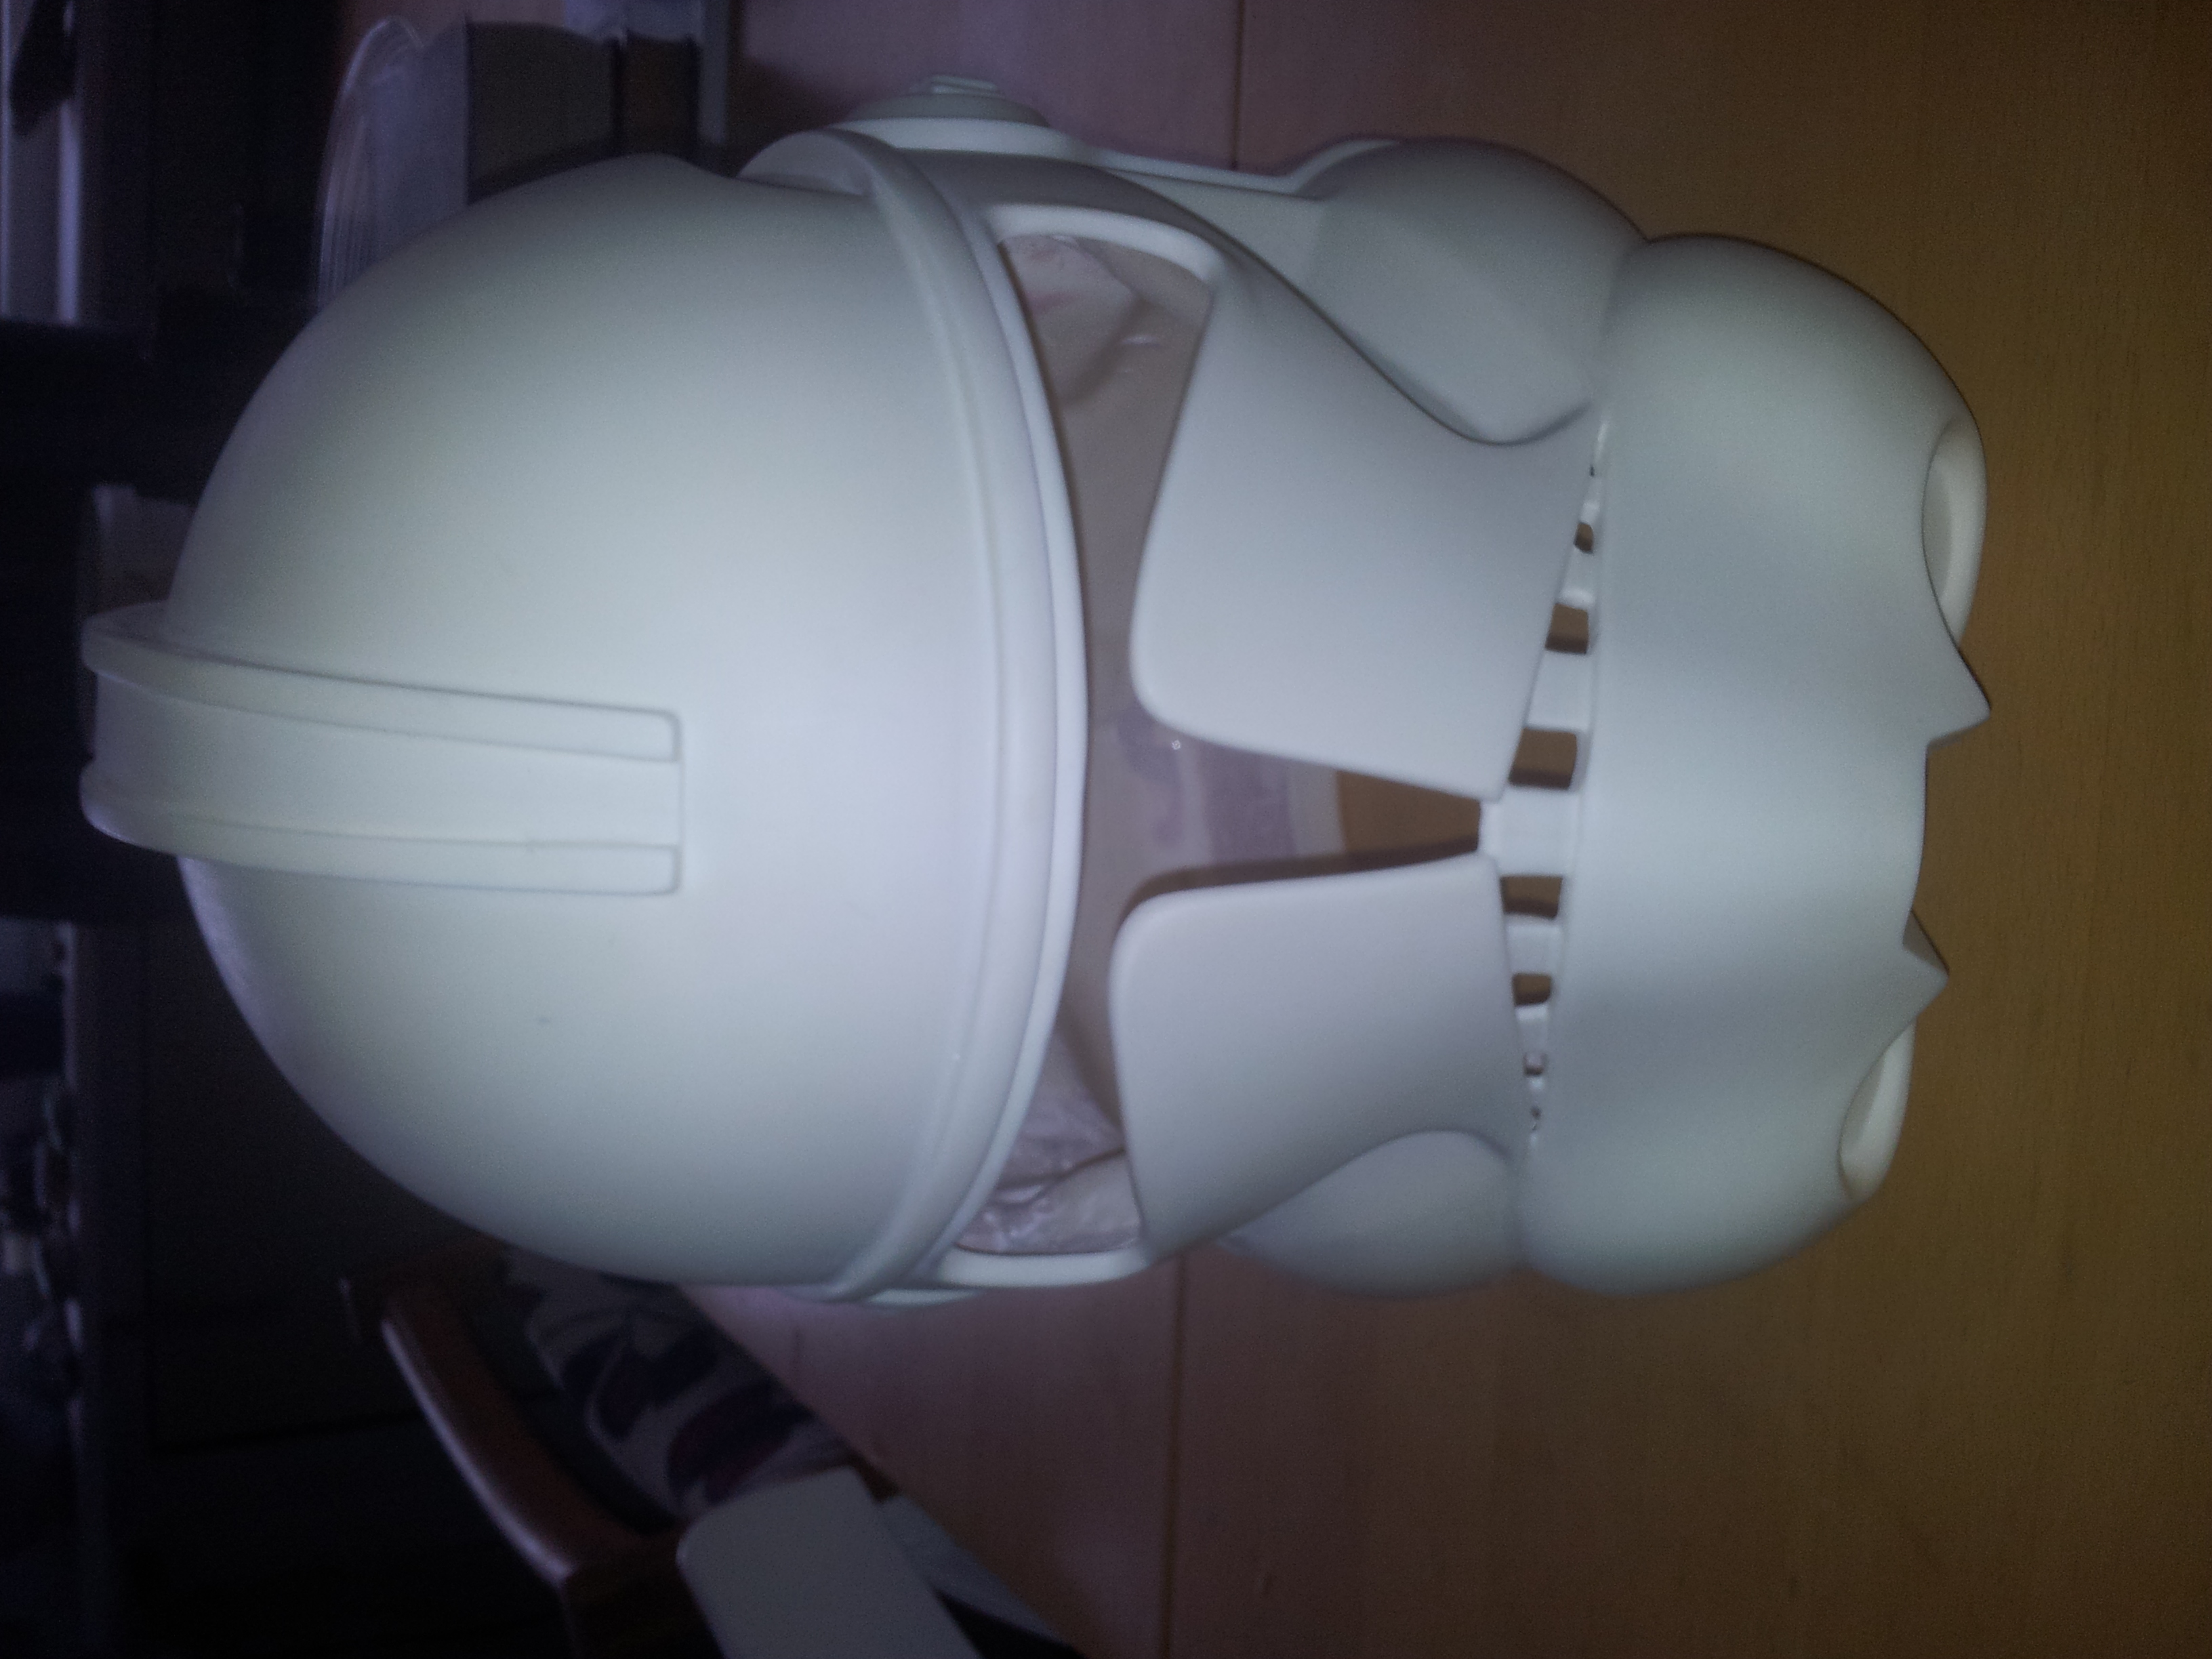
I then proceeded to paint the layers of White Spray paint from my local Hardware store.

Now, I, in my lack of understanding, sprayed, I kid you not, 15 layers of white... Yes I did. The end result was beautiful, but it took 3 months to dry completely, really... So, Keep it to about 3 to 5 layers if I were you.
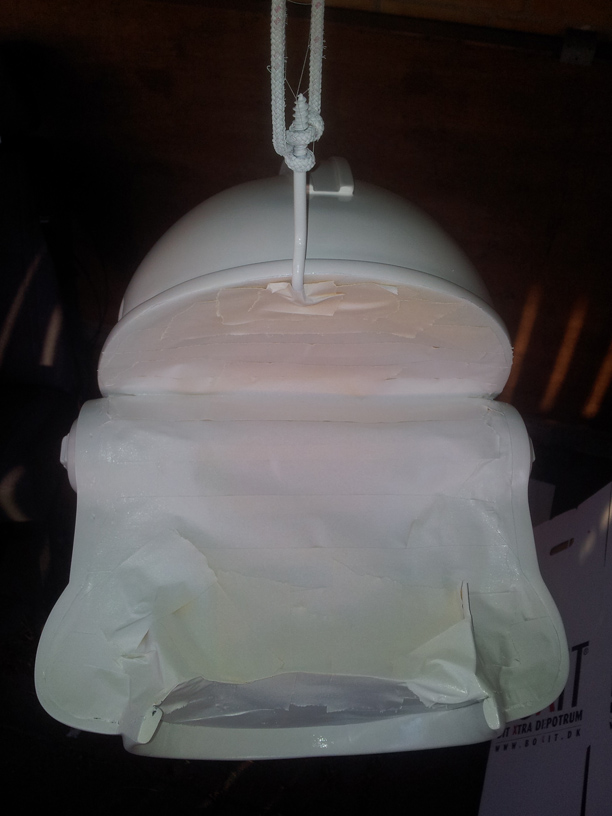
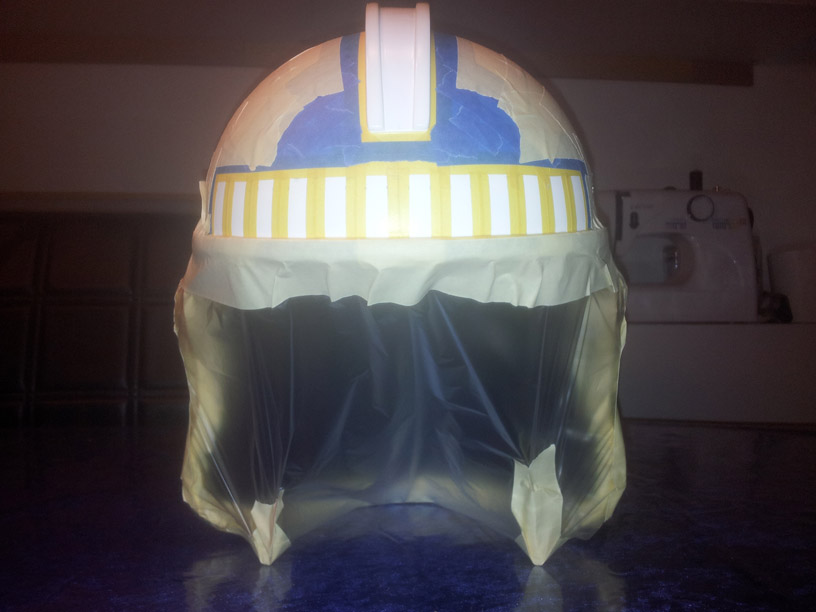
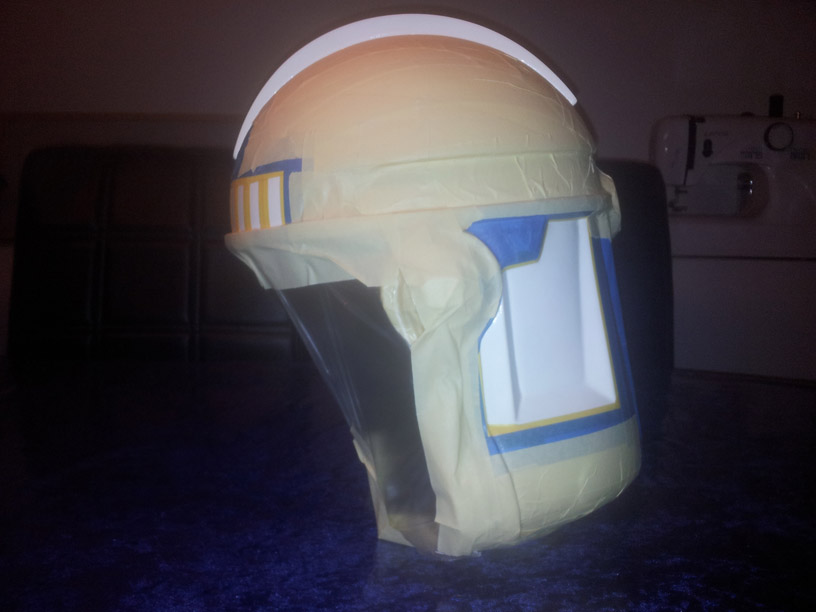
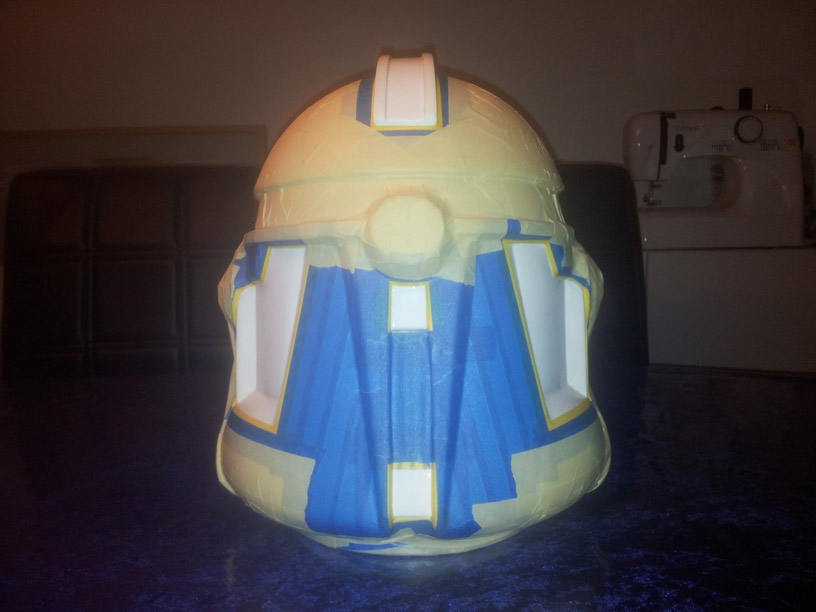
After it finally was dry, 3 months later, I was able to start to tape it off... And there was a lot of taping. Be patient with this process. Be sure to take, cover EVERYTHING that you don't want painted. I used 4 different types of Tapes. Regular Masking Tape, Car Blue Masking tap and plastic model 5mm and 10mm masking tape.
The Regular masking tape was used basically for all the large areas, where the Blue Tape was used for a little more finer areas on top of the Model Tape which I used for all the really fine detailed areas, switching from 5mm to 10mm. The Model tapes can bend and turn without the risk of it folding in on itself.
After taping it all off, I used a strait flat edge, to run around all the areas of the leading edge of the tape where the Paint would be sprayed on. Now, some people use Masking liquids or what not, I didn't know about them at the time and just did what I've always done. And it works just as well as the Masking liquid.
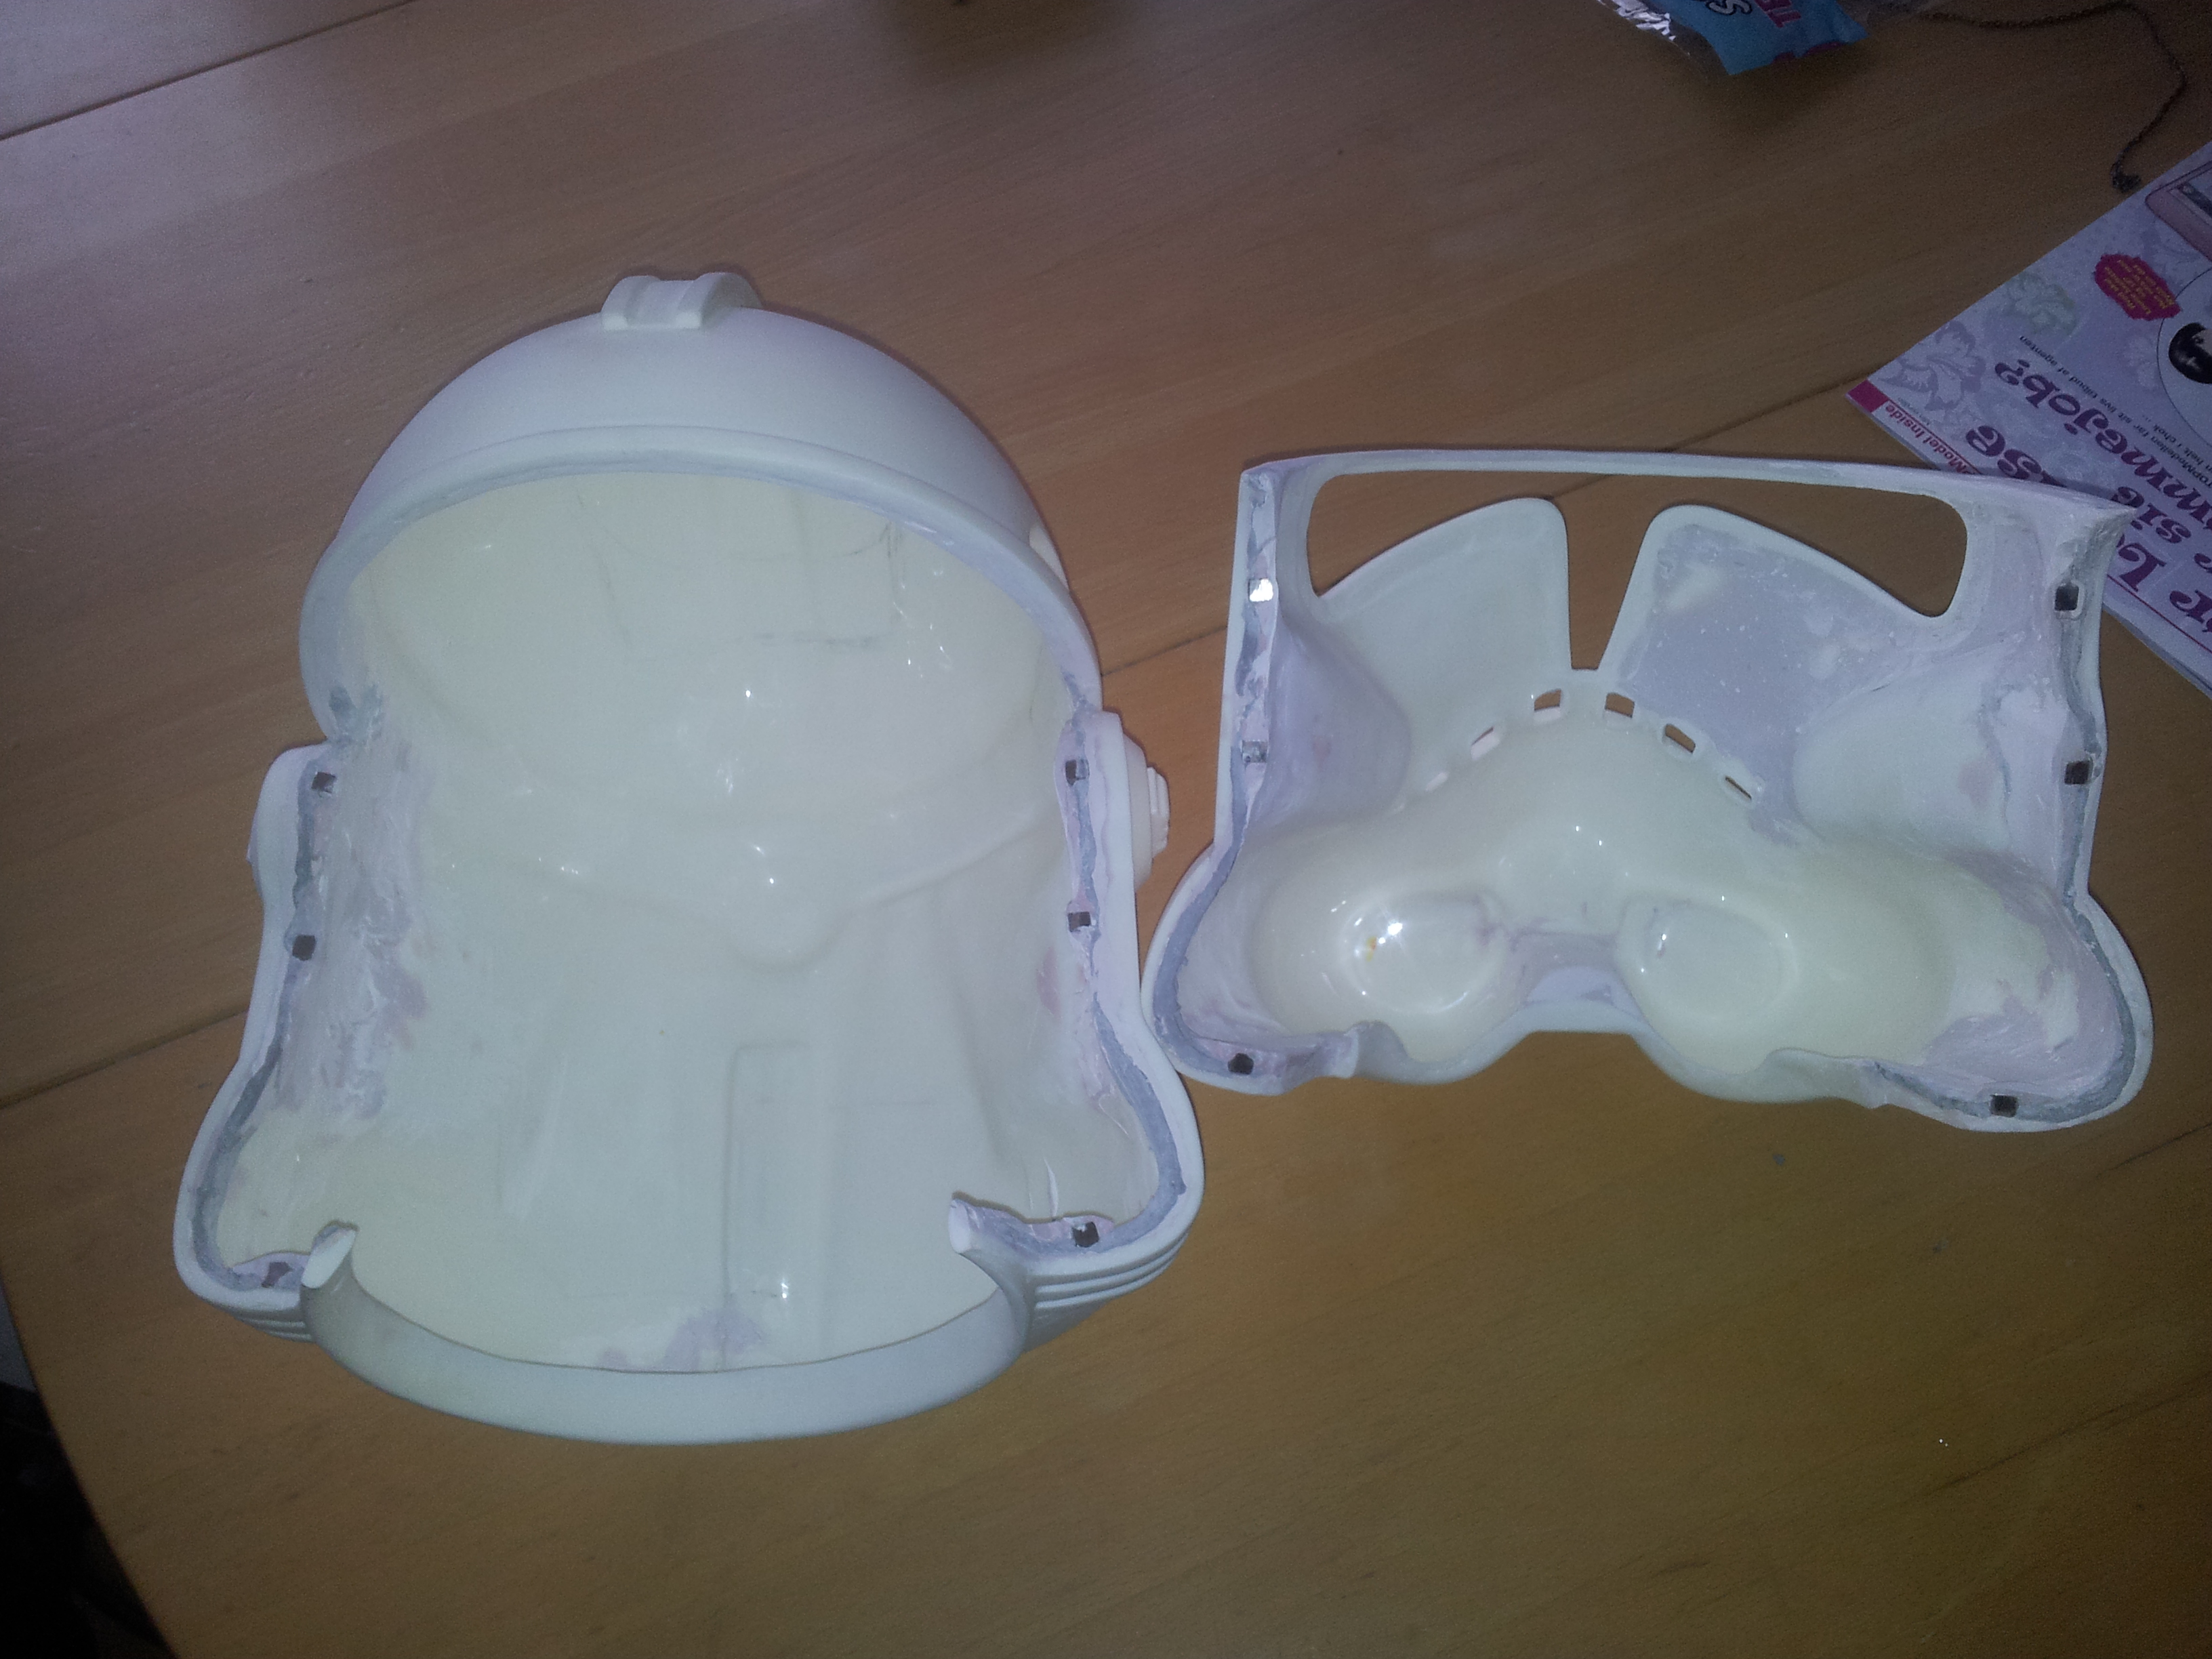
Remember to, before masking, SAND the entire helmet with wet/dry sand paper. Make it as smooth as possible, then wash it and let it dry.
Here are some more photos of the Masking process.
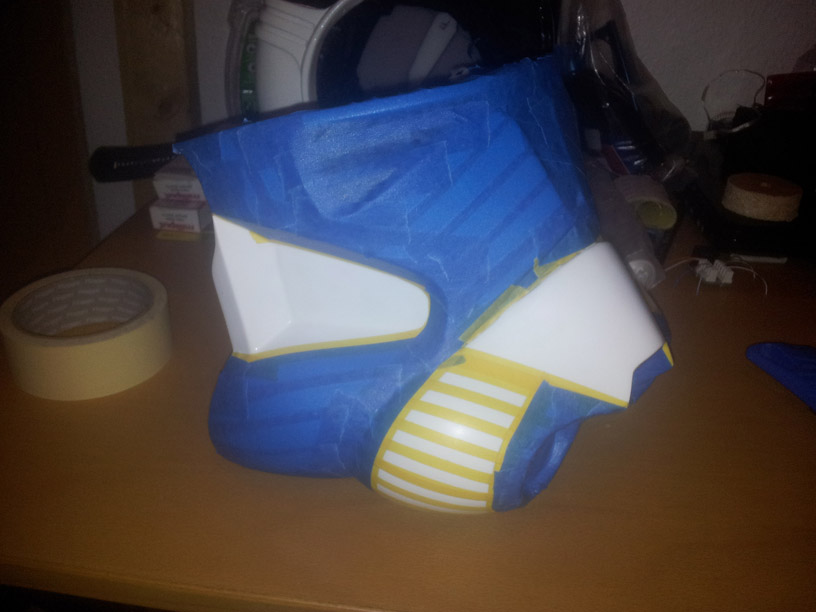
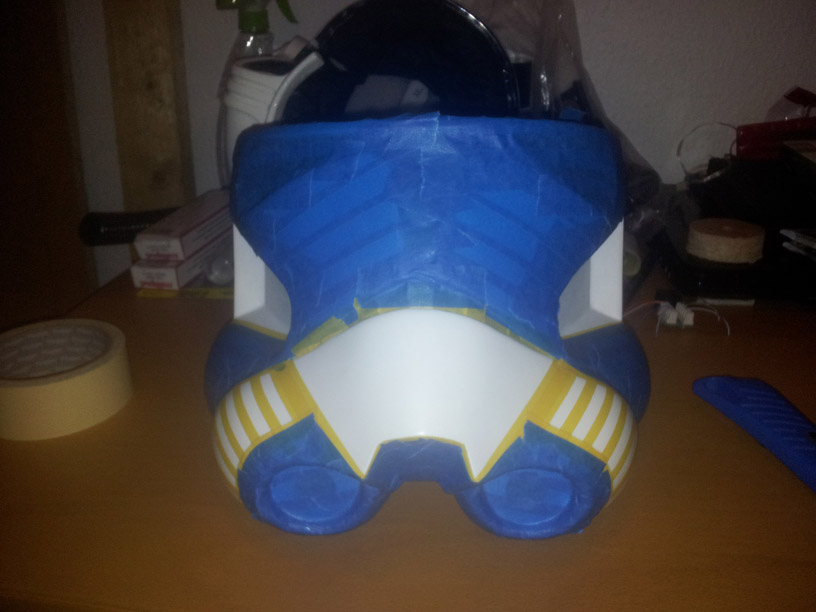

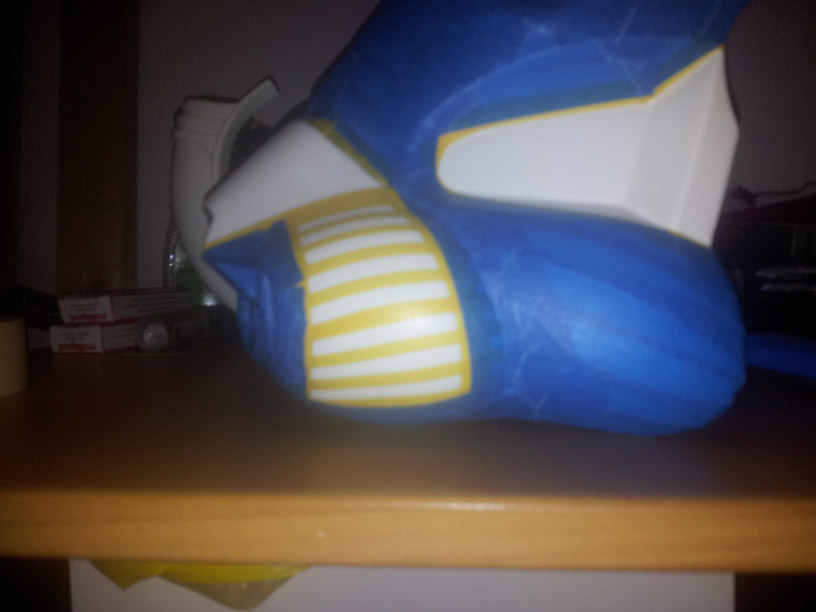
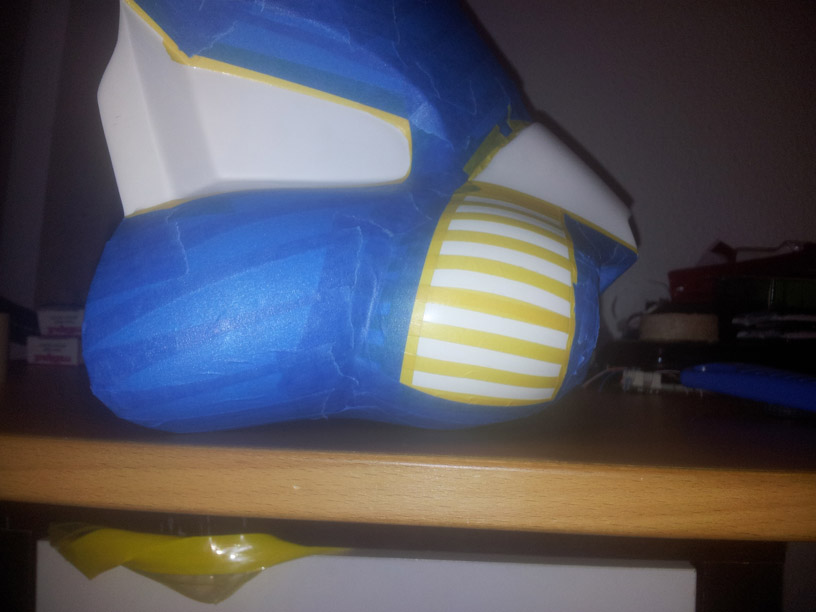

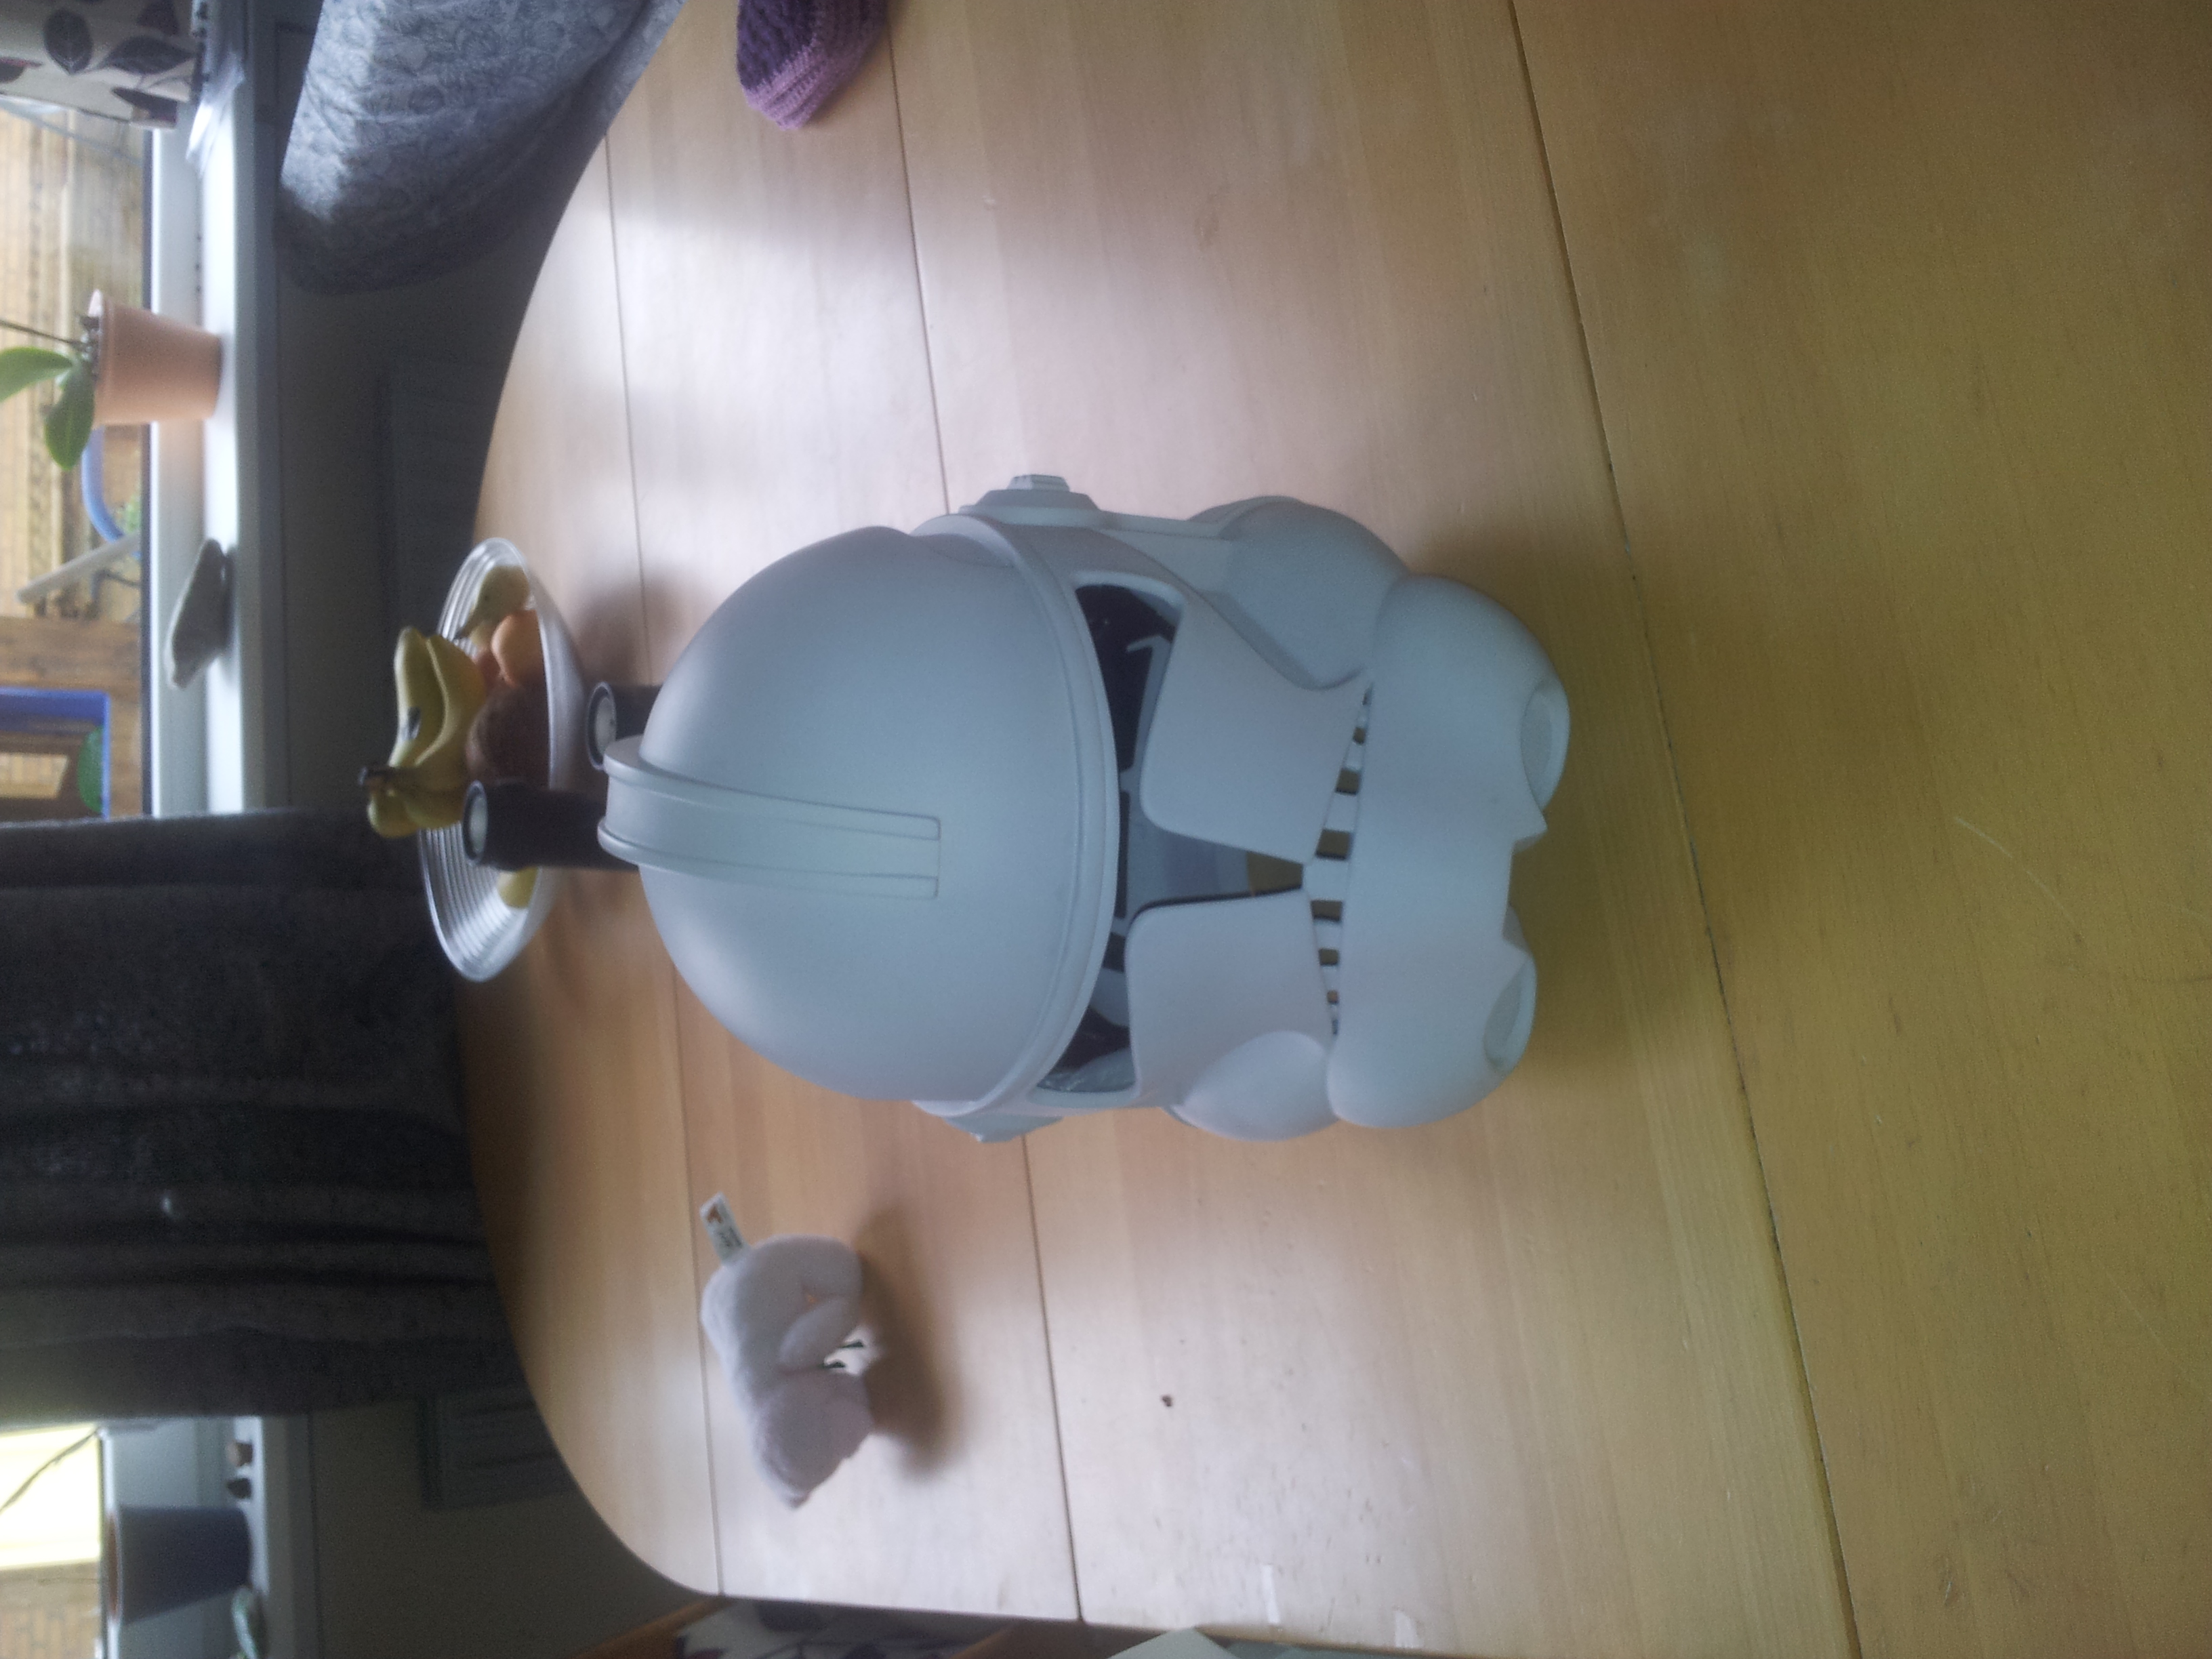
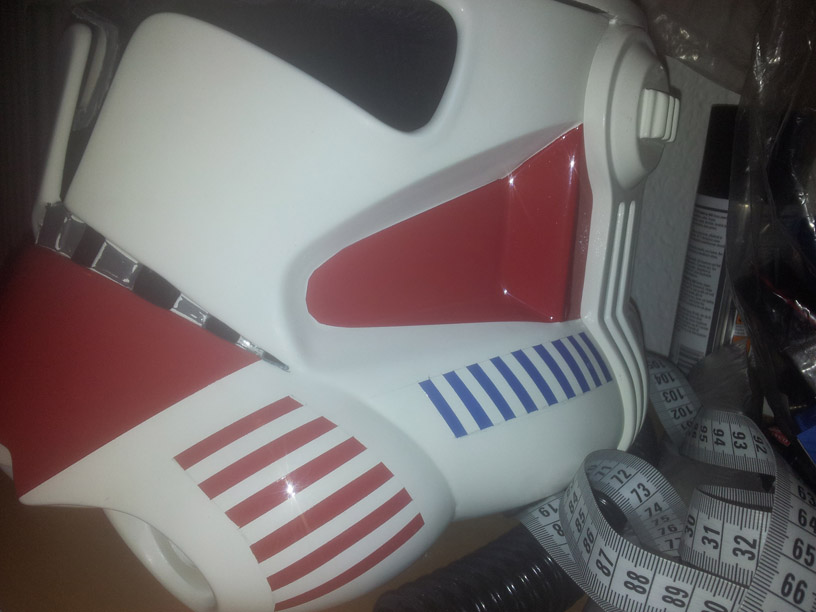
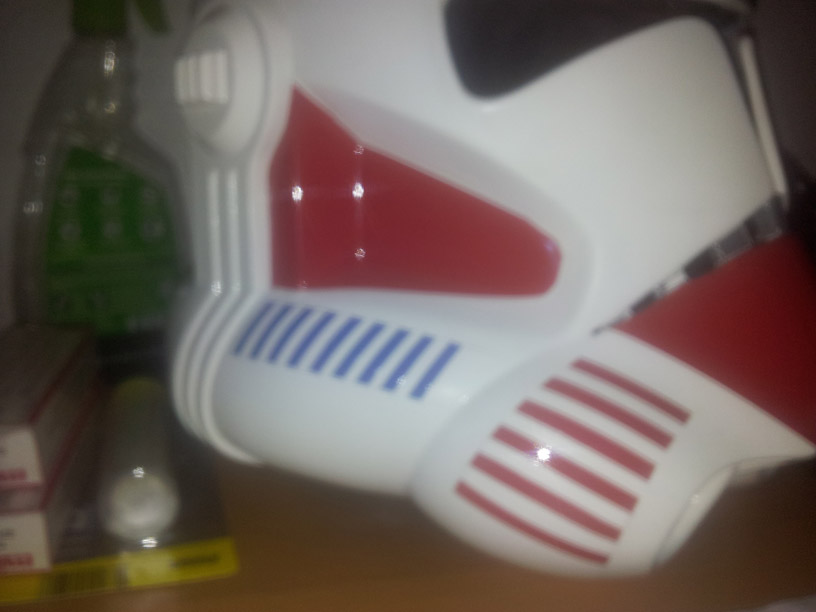
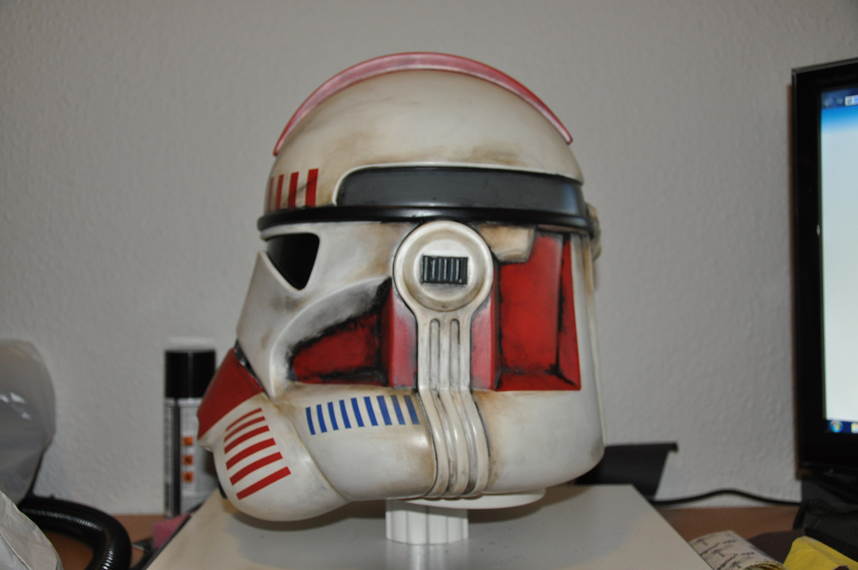
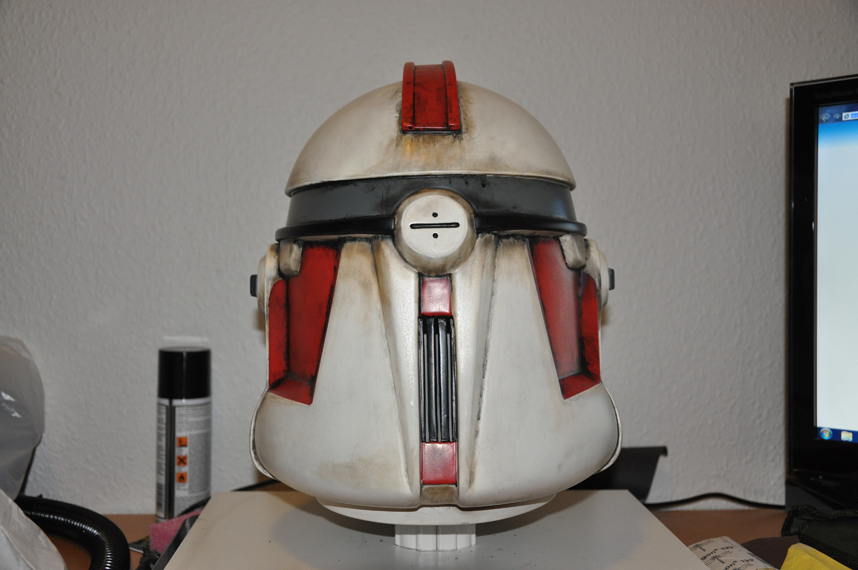
Here are the Raw end results after removing all the masking tape and news paper.
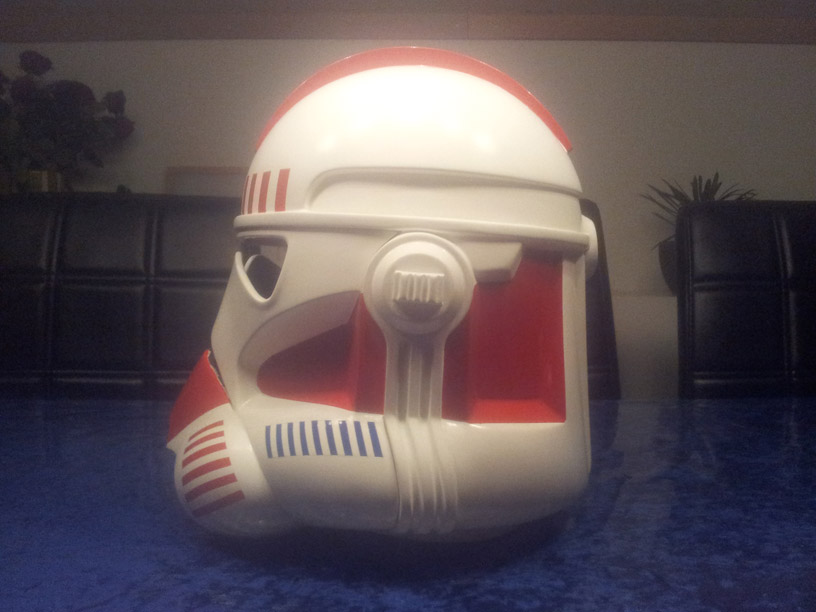
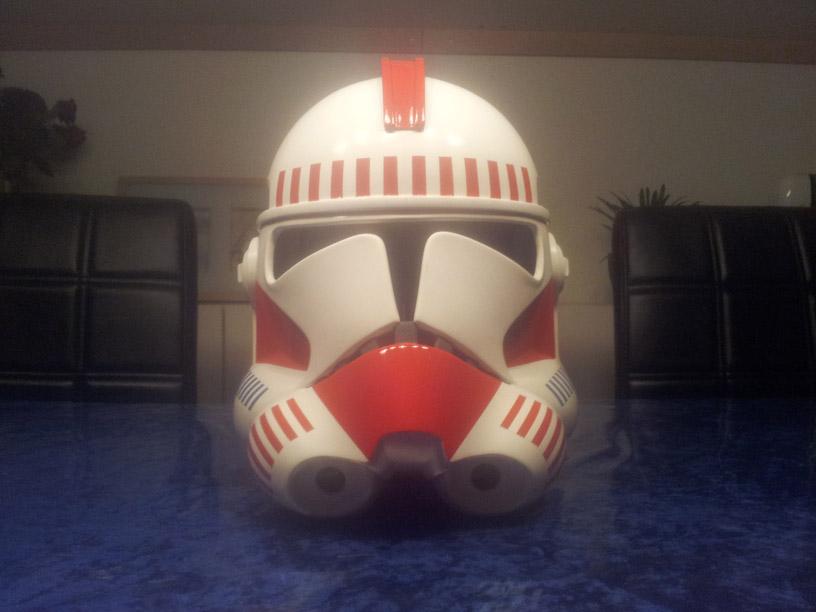

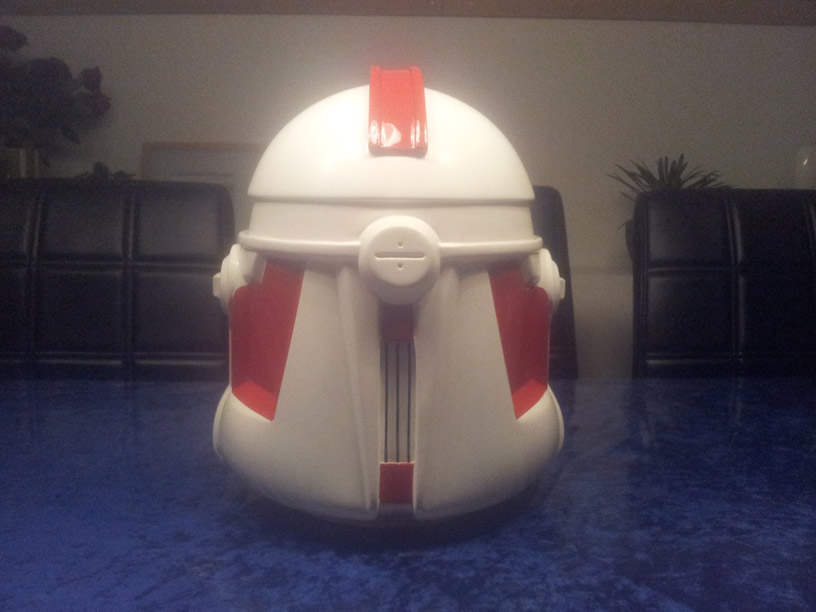
And a few close ups showing very little to almost no Bleed through from the Masking.
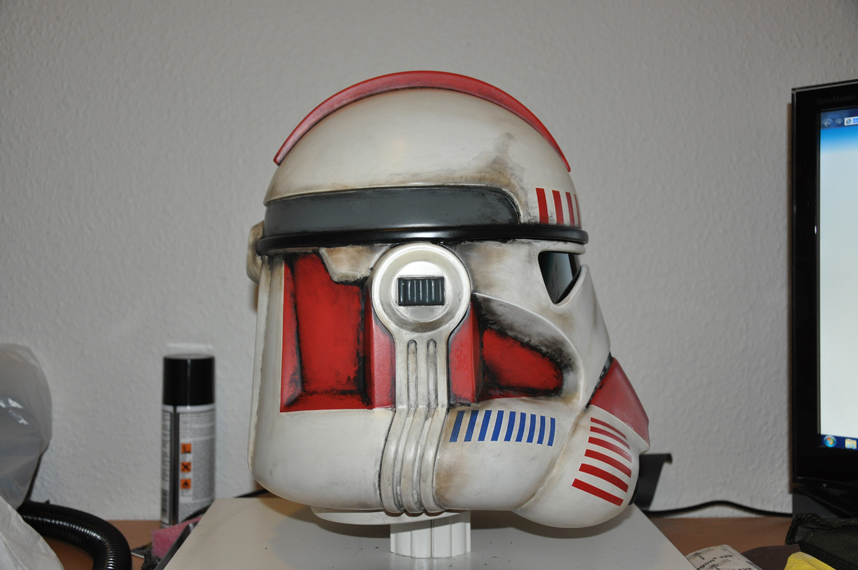
Then it was time for the weathering. again, at the time I didn't know of all the many different ways of making things look worn, used, scratched and so on. So I did what I have always done. Just make it look dirty using a few techniques I learned.
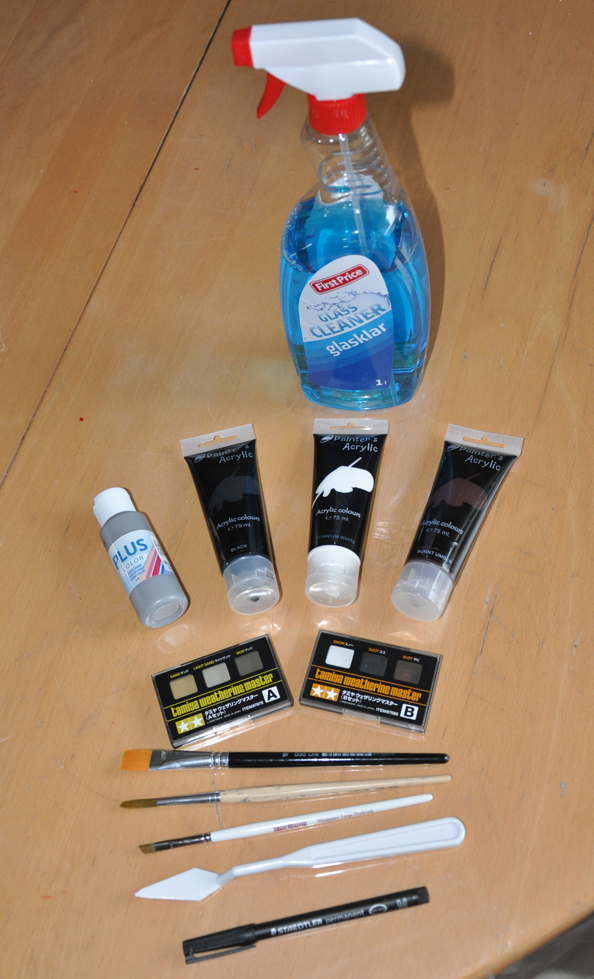
I used Dirty wash to get into all those nooks and crannies, giving it a used, dirty look. Now this stage is done in layers. You paint it on, wipe some off, paint it on and wipe some off and you keep going until you're happy with the end result. After that I used different types of Modelling weathering power rubs. There is no right or wrong way with this, it's basically a painting that you are painting. And most times, adding too much or messing up a little is actually what you want in this stage. I have a good handfulls of "oops, that's not what I wanted", but then realized, "hhmmm That actually looks better than I was thinking". So... Mistakes are almost always Happy Mistakes.
Here's my stuff I use to weather and photos of the weathering process.
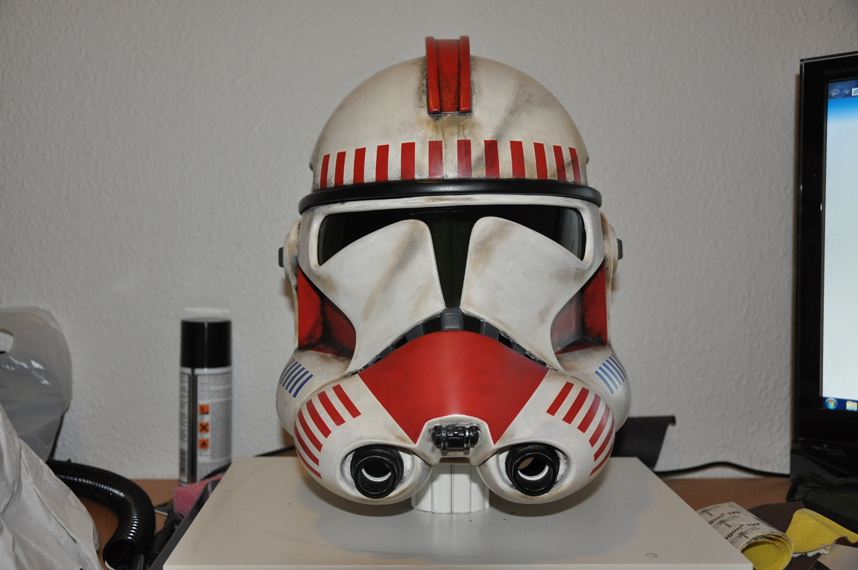
After you're done and happy with it all, remember to paint a few laying of a clear coat to seal it all in.